Tuesday, August 31, 2010

Ghosts, Pumpkins and Mummies Oh My!!

Not sure if this classifies as a craft but too cute not to share.  I made these last year for teacher gifts and thought I would add it to my blog to get everyone ready to bake and do some fall crafting.  Used brownies and covered them with white chocolate.  Pumpkin has food coloring.  I think the ghost looks more like a storm trooper but it gets the point across.  :D  Happy Harvest. Yea!!


I am linking to:
Thrifty Decor Chick


Aprons are fun

In my world of testosterone(I am the only girl in my house) I feel the need to buy pink and use flowers in everything to give me some balance.  Plus girl stuff is so much cuter and abundant.  Thankfully God gave me a ton of nieces to shower my need for pink onto.  hehehe.  This is for one of my oldest nieces for her birthday.  No real need for explanation.  I bought a pattern and went to town.  Ruffles, I have decided, are my nemesis. 


I am linking to:


Hoo Are You?


1. What is your least favorite thing to clean in your house?
2. What color of shirts do you wear the most?
3. Do you have long hair or short hair?
4. What time do you usually eat dinner?
5. What is your favorite dessert?
 
1.  My boys' bathroom...for some reason they are lazy
2.  white( I know boring)
3.  medium, trying to grow it longer
4.  between 5-6pm
5.  oooh, a hard one... Margarita cheesecake

Chair Revival

My youngest was in need of a desk and chair.  Determined to only buy from flee markets we set out.  Two weeks straight we hunted and and second guessed items, but finally he found a chair he "wanted".  Not really the type of chair I wanted but I gave in and thought, "this is his room".  I bought the chair for $5 at a flee market and bought some fabric, that he picked out, from JoAnns for probably $5.  A little sewing here, some staples there( I am in love with my staple gun by the way) and shazam a chair revival fit for my little man.
Happy Reviving!!
 

To make the slip cover for the back I simply unscrewed the back piece from the chair and made a pattern.  Easy peasy.

I am linking to:
One Pretty Thing

Monday, August 23, 2010

Baby Gifts

For two precious new babies at my church.  Saw this on another blog and had to do it.  Letters are vinyl, frames came from Walmart for $2 each.  I spray painted them because they were brown and formal looking.  Used my cream spray paint.  The vinyl you can get off Ebay cheap.  Pretty easy gift.  Try making a gift instead of buying.

Friday, August 20, 2010

Silk Screening with Mod Podge

I have been dying to finally do anything using this method.  Nathan came home with a Literacy bag that he was able to decorate.  EUREKA!!  Finally I get to use my Mod Podge to silk screen.  A little nervous to start.  What if it messed up?  What if he didn't like it?  What if I ruin his entire bag?  It was easy as pie.  A little time consuming but it was also my first go.  I think next time will go faster.
Here are the supplies you will need.  A sheer curtain panel.  I got mine on sale at Walmart years ago and happen to remember that I had them.  Mod Podge, a fabric ring, paint brush, material you are screening.

1.Put your sheer material through the ring and pull and tighten so the fabric is pretty secure.  Trim off any excess.
2. Nathan picked out the font and I chose the size.  I didn't like that it needed 2 lines to print but in the end it only made the project take longer so I can live with that.
3. Trace your image or letters onto the sheer fabric with a pencil.
4.  Mod Podge with your brush all around the font/image and even quite a bit away from you image so no paint gets on the outside.
I let the first coat dry and did a second just to make sure I covered all the tiny holes.  This was the most time consuming part.  You can blow dry it to help the process go faster.
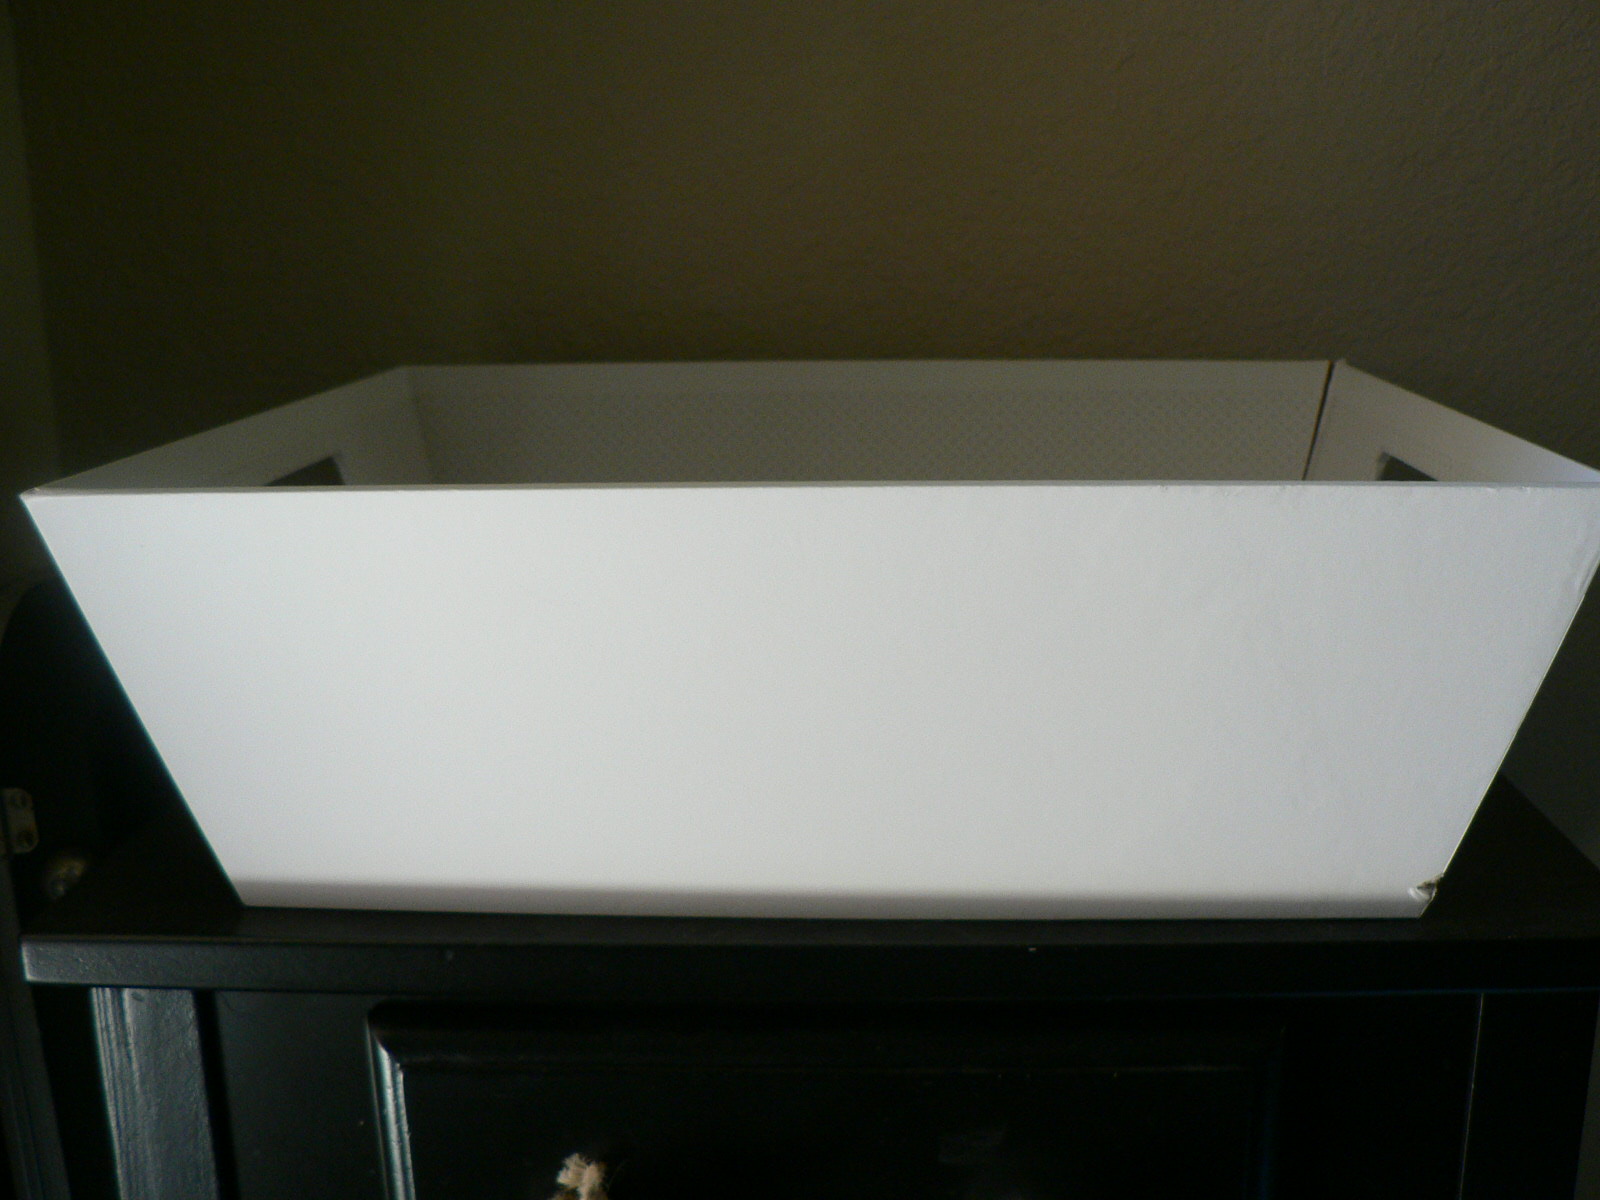
 Lastly, put card board in between your layers so it doesn't bleed through.  Start painting in your image or font.  I went over it twice before lifting it off.  You can even rinse the paint out of the fabric and use it again.  I threw mine out.

The finished product.  I added some stripes using tape as my guide and put his teachers name on it like he requested.  Not bad for my first time.  I love this so much I need to find more to silk screen on!!  Happy crafting!! Hope this inspires you like it did me.

Linking to:
Hope Studios


CSI Project 
Visit thecsiproject.com 

Saturday, August 14, 2010

Mail Box-altered


With my husband deploying next week I am attempting to become more organized.  With that said I purchased boxes for my boys to put their school papers in on my desk, instead of just tossed on the kitchen table to be lost for forever.  I also purchased a white tray. The color didn't do much for me since it was going by the front door, so I decided to jazz it up a bit.  Blend in with the decor.  I Mod Podged the outside with scrapbook paper that I had in my scrap bin.  Then painted the inside and antiqued the outside of the tray a bit.  All the stuff I had already so my only cost was the $6 tray from Walmart.  You always have to remind yourself that things can be altered.  If something catches your eye, but you don't like the 'look' of it per-say, then alter it.  Don't be afraid to alter.  The inside of my box didn't quite come out the way I hoped, but hey, mail is going in it anyways so I can live with it.  Happy altering.


I am linking to:


Another great project for organization...

Mod Podge Rocks!: Mod Podge filing cabinet makeover.

Wednesday, August 4, 2010

Silver Anniversary Celebration

We recently went home to celebrate my in-laws Wedding Vow Renewal and 25yr of marriage.  WOW!  It was so amazing and all of the girls took the rains on decor and planning.  What fun!  Here are some of the pics.


I took the idea from a friend to write on plates.  The theme was the Circle of Life and I found a really neat quote on line so with a silver metalic sharpie I wrote the quote on the plate.  The candle has a silver ribbon, and the charges came from Hobby Lobby.

One of my sister-in-laws came up with the idea of a family table.  We put all our wedding photos and all the grandkids around the tables.  My mother-in-law was so surprised!  You should try this at a party or wedding!

Programs by my SiL.  Love it!!

It's amazing what you can turn recycled party favors into.  A lot of the decor was recycled!!  Love that idea.  I thought they came out amazing.  See what you have around the house before buying new.  You may be surprised.  Even borrow from friends.

The invites.  My MiL came into town and helped my put these together.  They have a periwinkle background and peach bow.  The leaves are two separate stamps I placed together on the acrylic block.  Her original color were peach, periwinkle and cream.  I was worried we wouldn't be able to find the colors and make it new but I like how they turned out.